An identity of its own

One of the things I’ve always liked about building modules is figuring out the little details nobody thinks about until they become a problem. Somewhere along the way I realized I needed a good way to identify the individual Creekside Timber & Milling modules, but I didn’t want to permanently attach a sign to the fascia and call it done. That would have been entirely too easy.

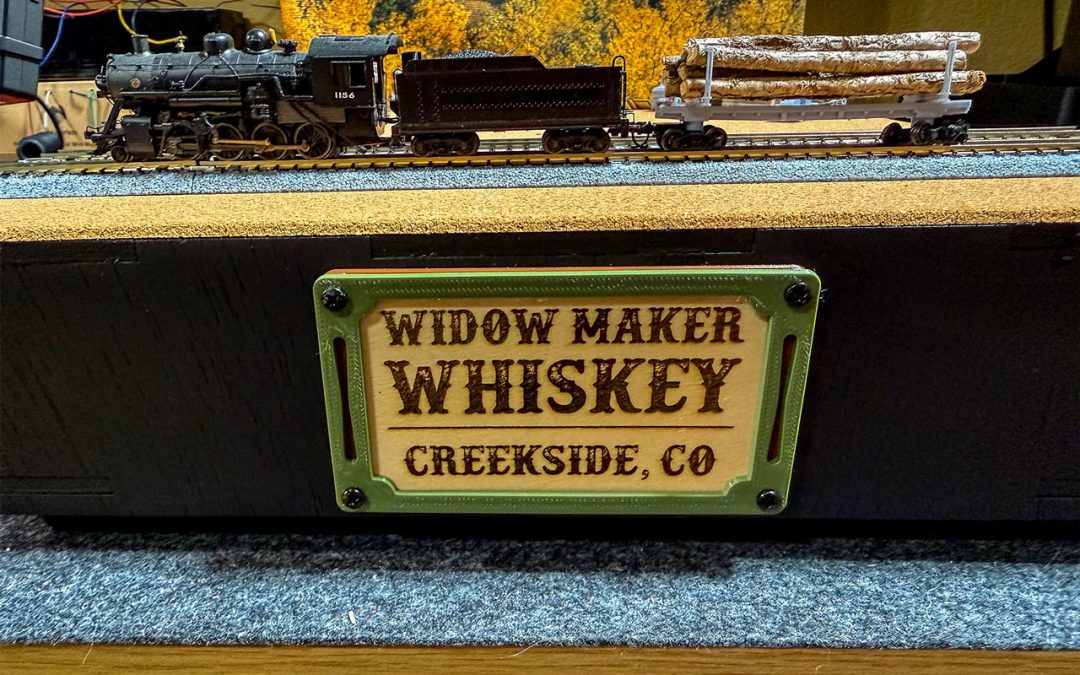
So what started as a simple holder for a laser-engraved piece of birch turned into the T-Trak Module ID Tag Kit. The idea is pretty straightforward: a 3D-printed faceplate holds a removable ID tag, with optional spacers and a backplate that let you configure the whole thing depending on what you want to stick in it.

Tag it with nnything

I’m calling them Module ID Tags, but “ID” can mean pretty much anything you want. Mine identify the West Yard, East Yard, Old Sawmill and Widow Maker Whiskey, while another identifies Widow Creek and me as the builder. You could just as easily put your name, railroad, club, website and module name all on one tag and be finished with it.

One thing I specifically wanted was the ability to use a standard 3.5 × 2-inch business card. That opens up a bunch of possibilities without requiring anybody to own a laser, design a special insert or even print something new. If you already have a business card, club card or railroad card, slide it in and you’re done.

For Creekside I’m sticking with laser-engraved birch because it fits the late-’50s/early-’60s railroad and timber-company look I’m after. But there’s nothing special about the material. The tag can be wood, cardstock, plastic, a business card or just about anything else you can fit behind the faceplate.

One Millimeter With a Job

The faceplate itself is 2 mm thick, and I made both 1 mm and 2 mm spacers for the back. The 1 mm version works nicely with business cards and other thin inserts, while the 2 mm spacer gives thicker material like the laser-engraved birch tags a little more breathing room. The spacer is open across the top, so the tag simply slides in and out instead of requiring you to disassemble the whole thing every time you want to change it.
The spacer also ended up providing a little detail I hadn’t originally planned on. The openings on each side of the faceplate expose just a sliver of the spacer underneath. I’m using brown behind the green faceplate, but there’s nothing stopping somebody from using yellow, red, white or whatever color fits their module. Sometimes the accidental details turn out to be the ones I like the most.
There’s also a 1 mm backplate, although technically you don’t need it. The module fascia itself can serve as the back. I personally like the complete assembly standing just a little proud of the fascia, and that extra space makes sliding tags in and out considerably easier. Besides, after spending this much time designing the thing, apparently I wasn’t going to let one millimeter of plastic escape without having a job.

Everything uses the same four-hole mounting pattern, so the faceplate, spacers and backplate can be mixed and matched without drilling a different set of holes every time.
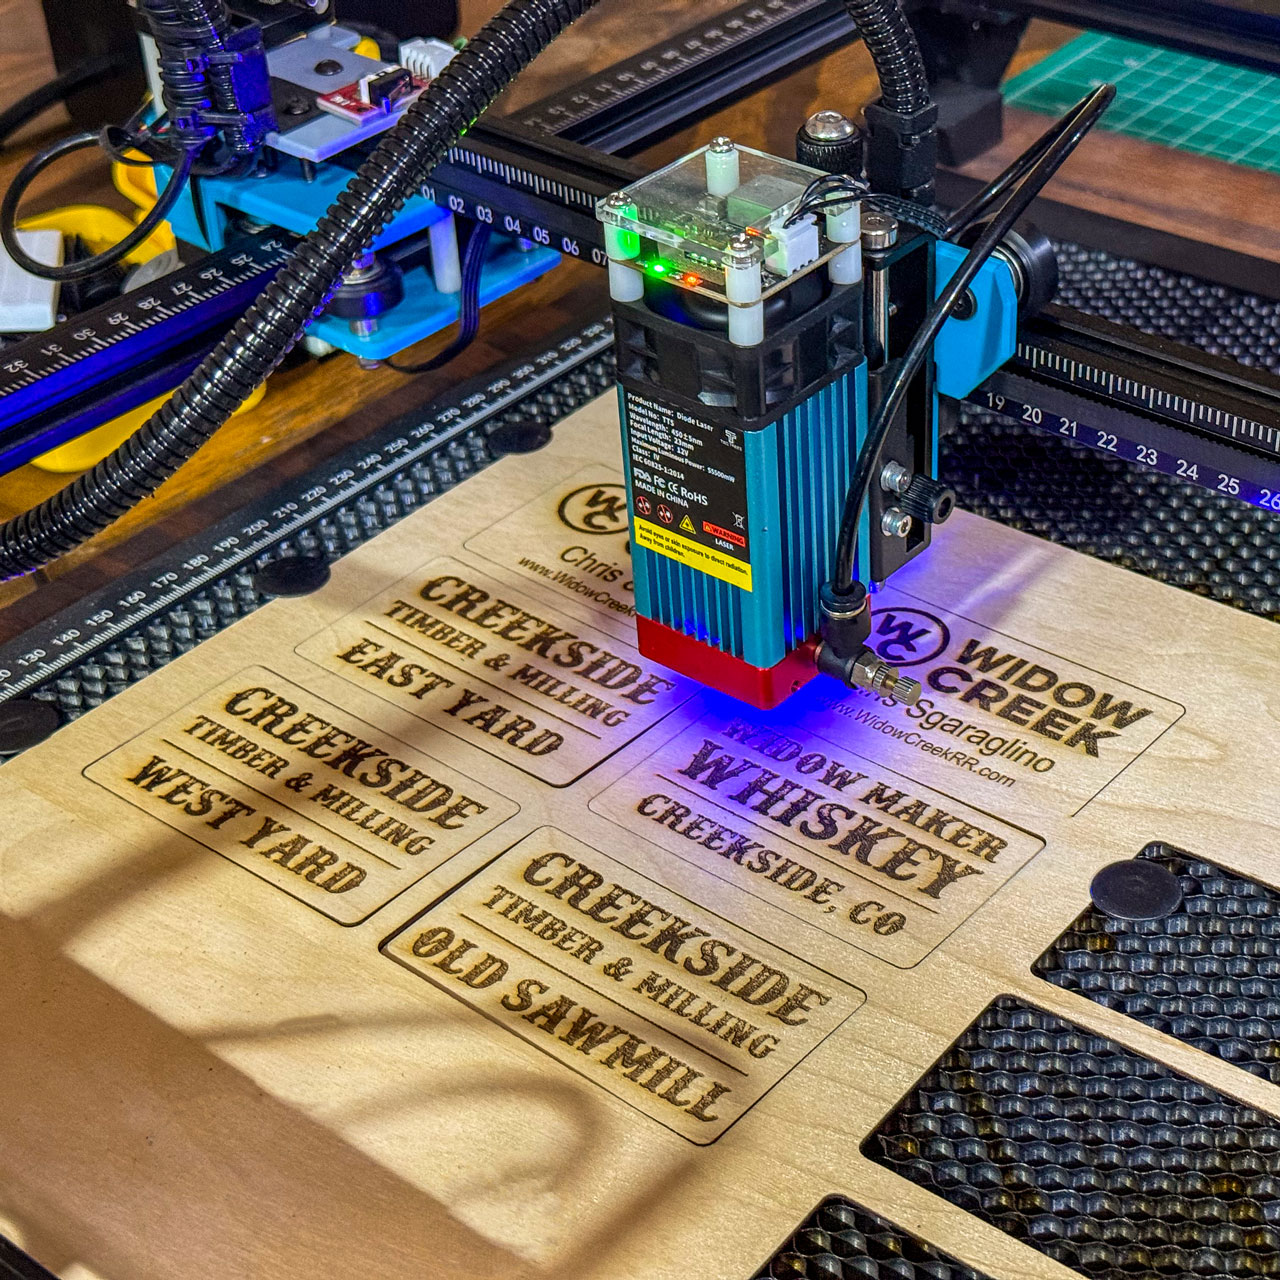
It’s a ridiculously small part of building a T-Trak module, but those are usually the projects I have the most fun with. Find one little annoyance, overthink it for a while, fire up the laser and 3D printer, and somehow end up with an entirely new project.