Building the T-Trak Modules, Part One
When I started working on the next two modules for the Widow Creek Railroad, I knew from the beginning that they were going to be a little different. Widow Maker Whiskey would sit on a conventional single T-Trak module, but the Old Sawmill and logging pond needed something with a little more room to work below track level. Rather than build two completely different modules, I wanted to start with the same basic design and change only what was necessary for each location.
Like most things I build, these modules actually started on the computer long before a piece of plywood ever made it to the laser. The basic dimensions come from the N scale T-Trak standards, but simply drawing a box to those dimensions wasn’t really the point. If I was going to laser cut the parts, I wanted to take advantage of the precision of the laser and build as much of the assembly and alignment into the design as I could.
Designing before cutting
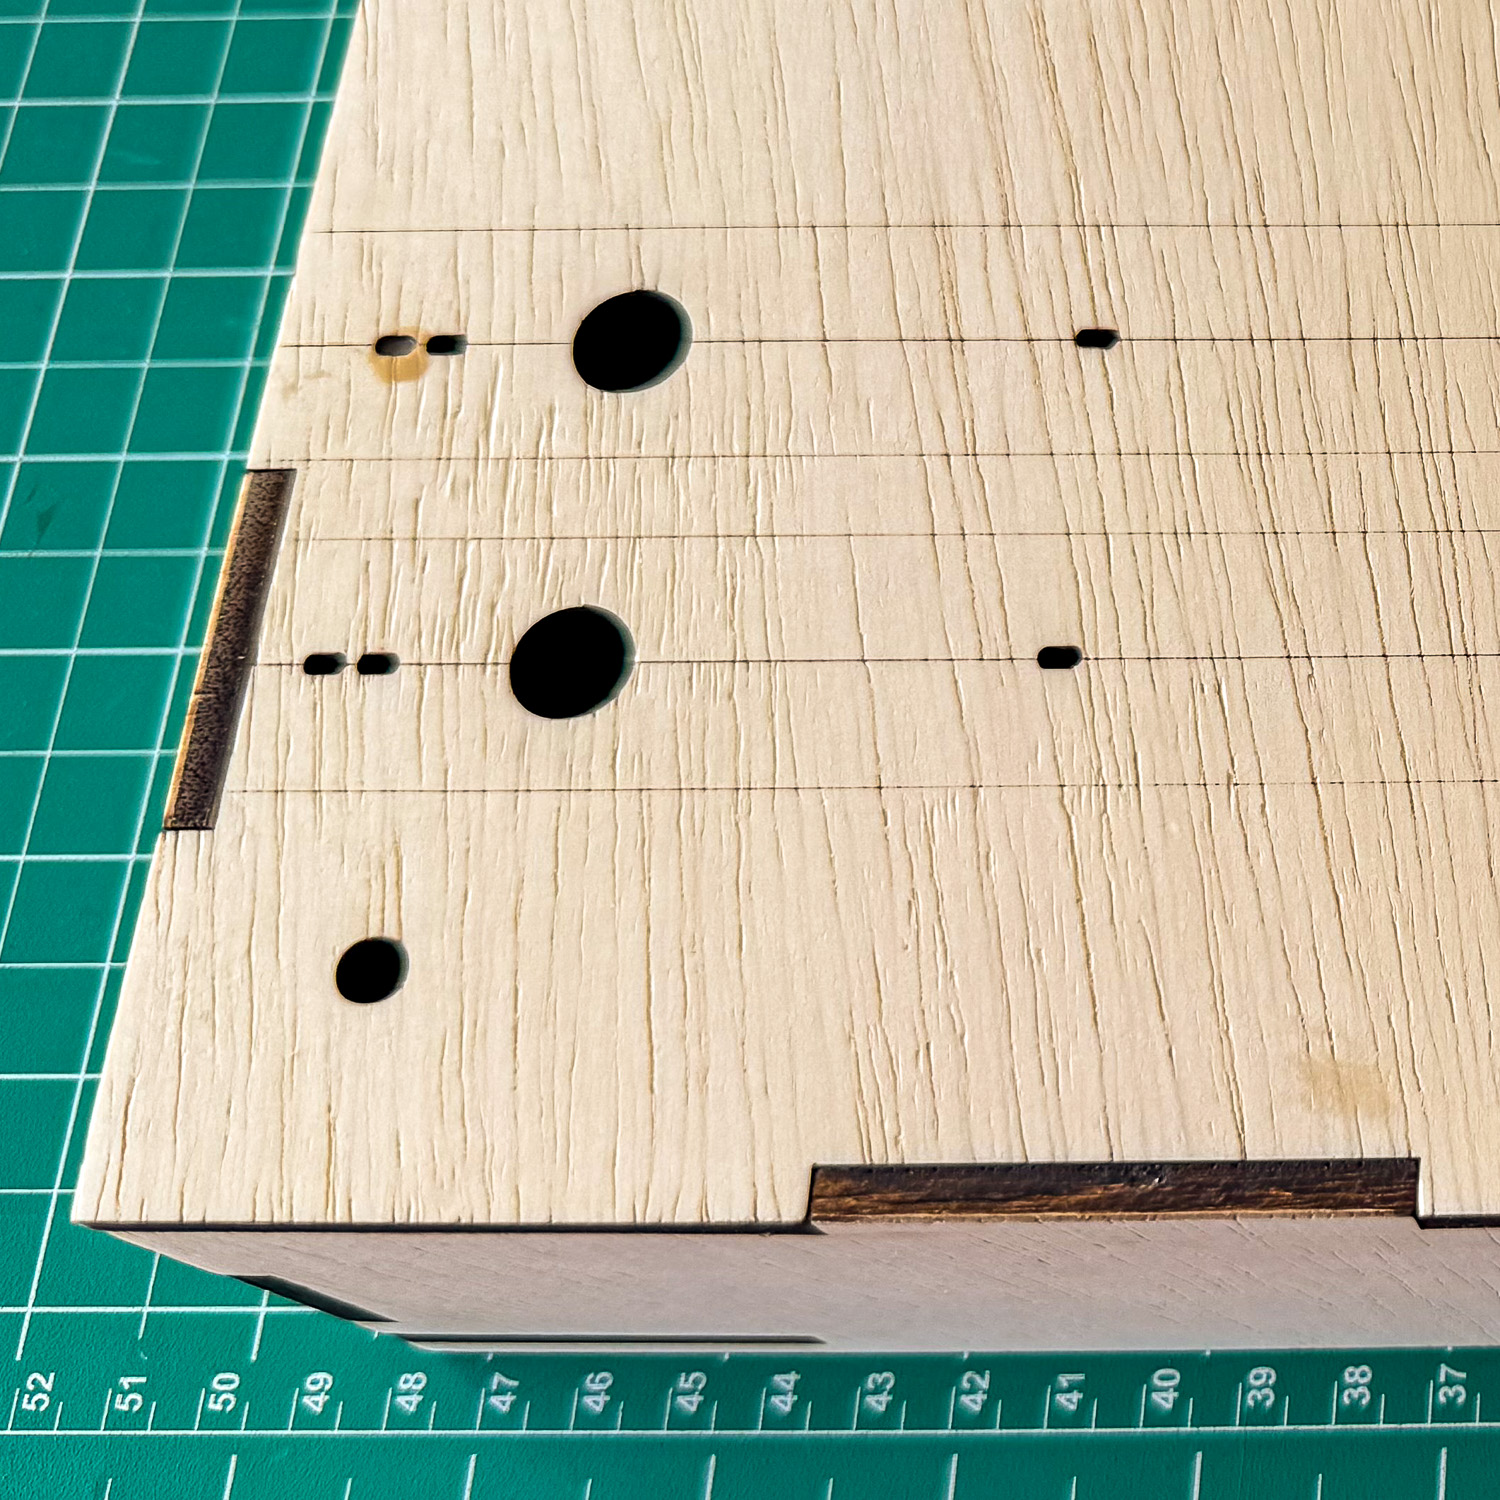
That meant thinking ahead about things I wouldn’t actually install until much later. Track location, mounting screws, feeder wires, leveling feet and electrical connections all needed somewhere to go. Instead of assembling a wooden box and then measuring and drilling all of those locations afterward, I could put them into the original drawing and let the laser establish them while it was cutting the parts.
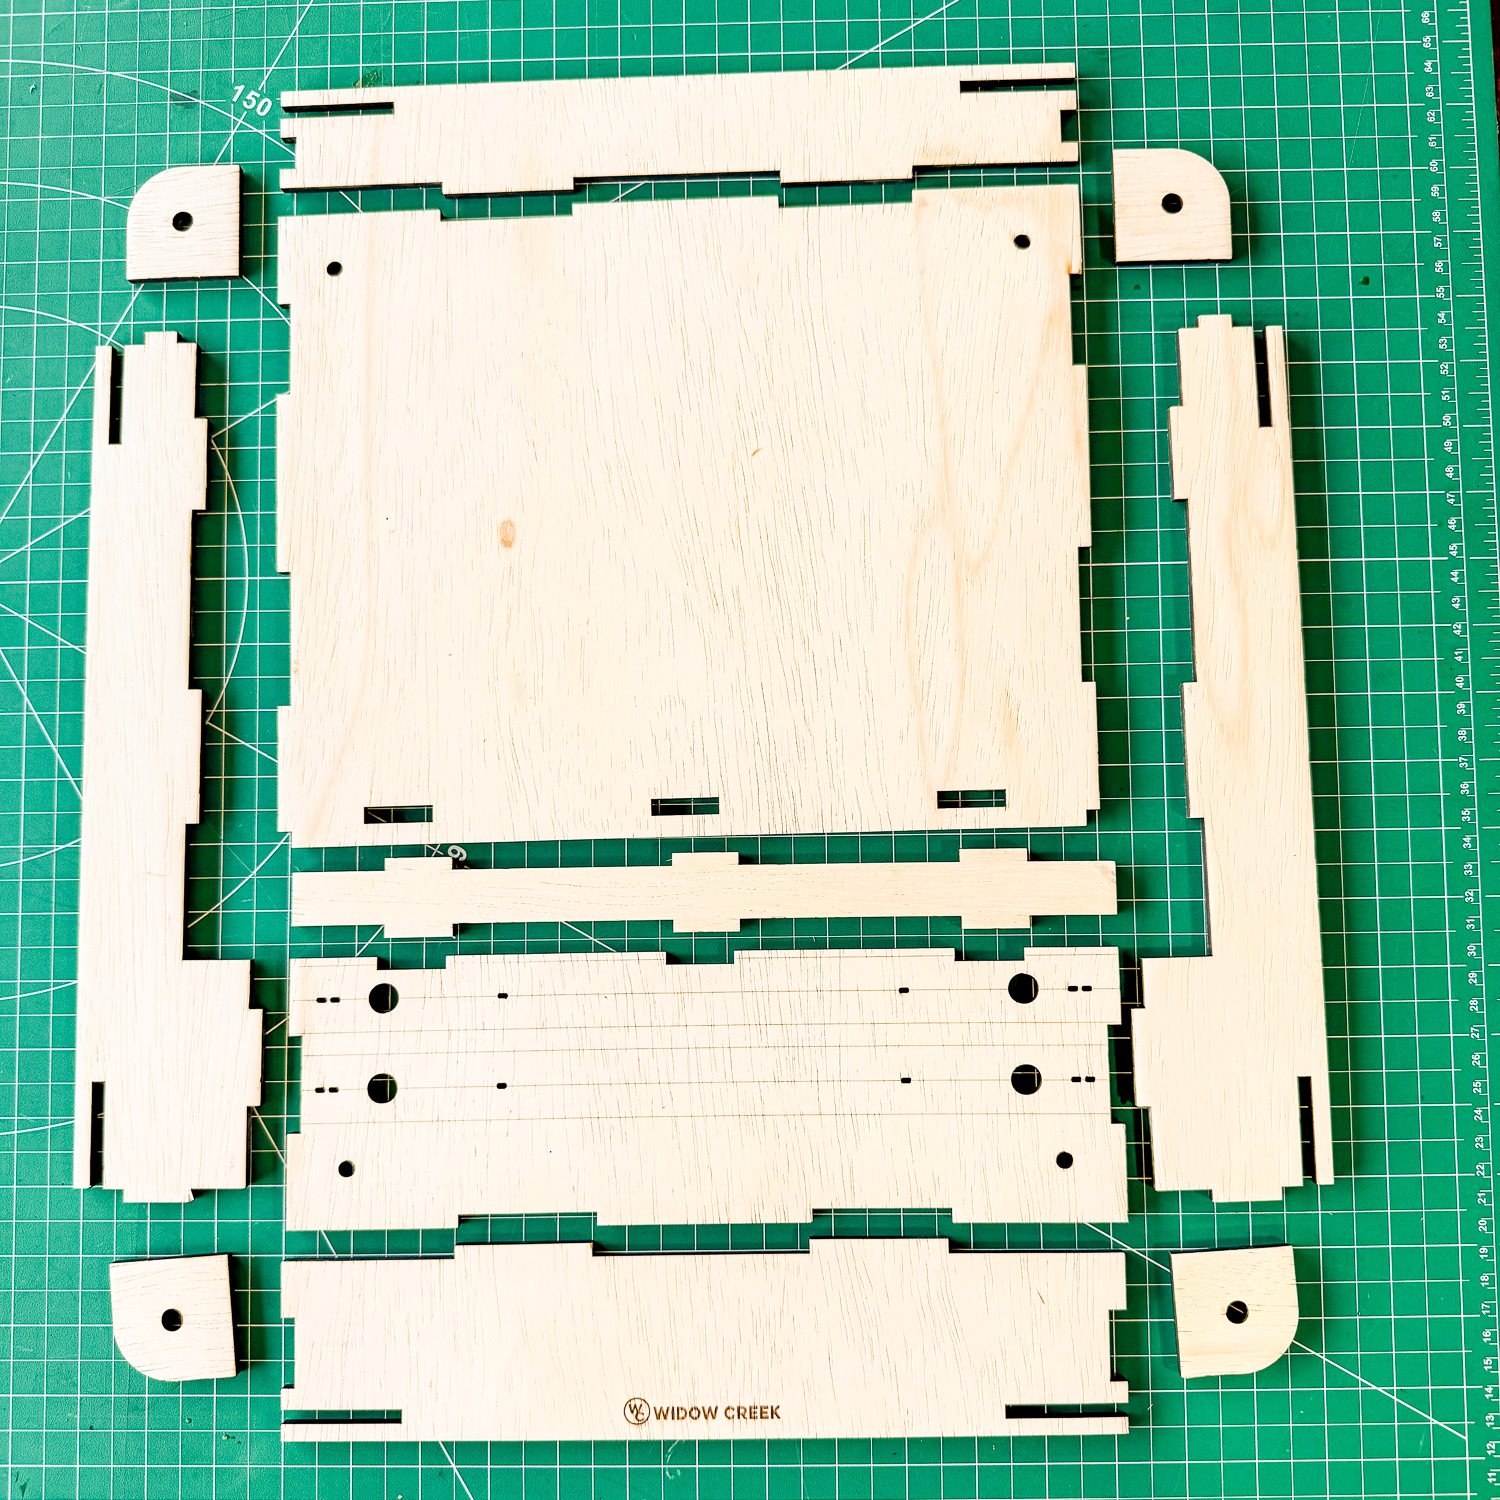
Some of the holes and openings in the drawing probably don’t make much sense when you first look at them, and that’s actually part of the story. They aren’t decorative and they aren’t leftovers from the drawing process. Nearly every one of them exists because something will eventually mount there, pass through there or need to be adjusted through there.
One of the bigger goals was repeatability. If I build another one of these modules later, the laser file already knows where everything belongs. I don’t have to measure the same locations again and hope the next module matches the first.
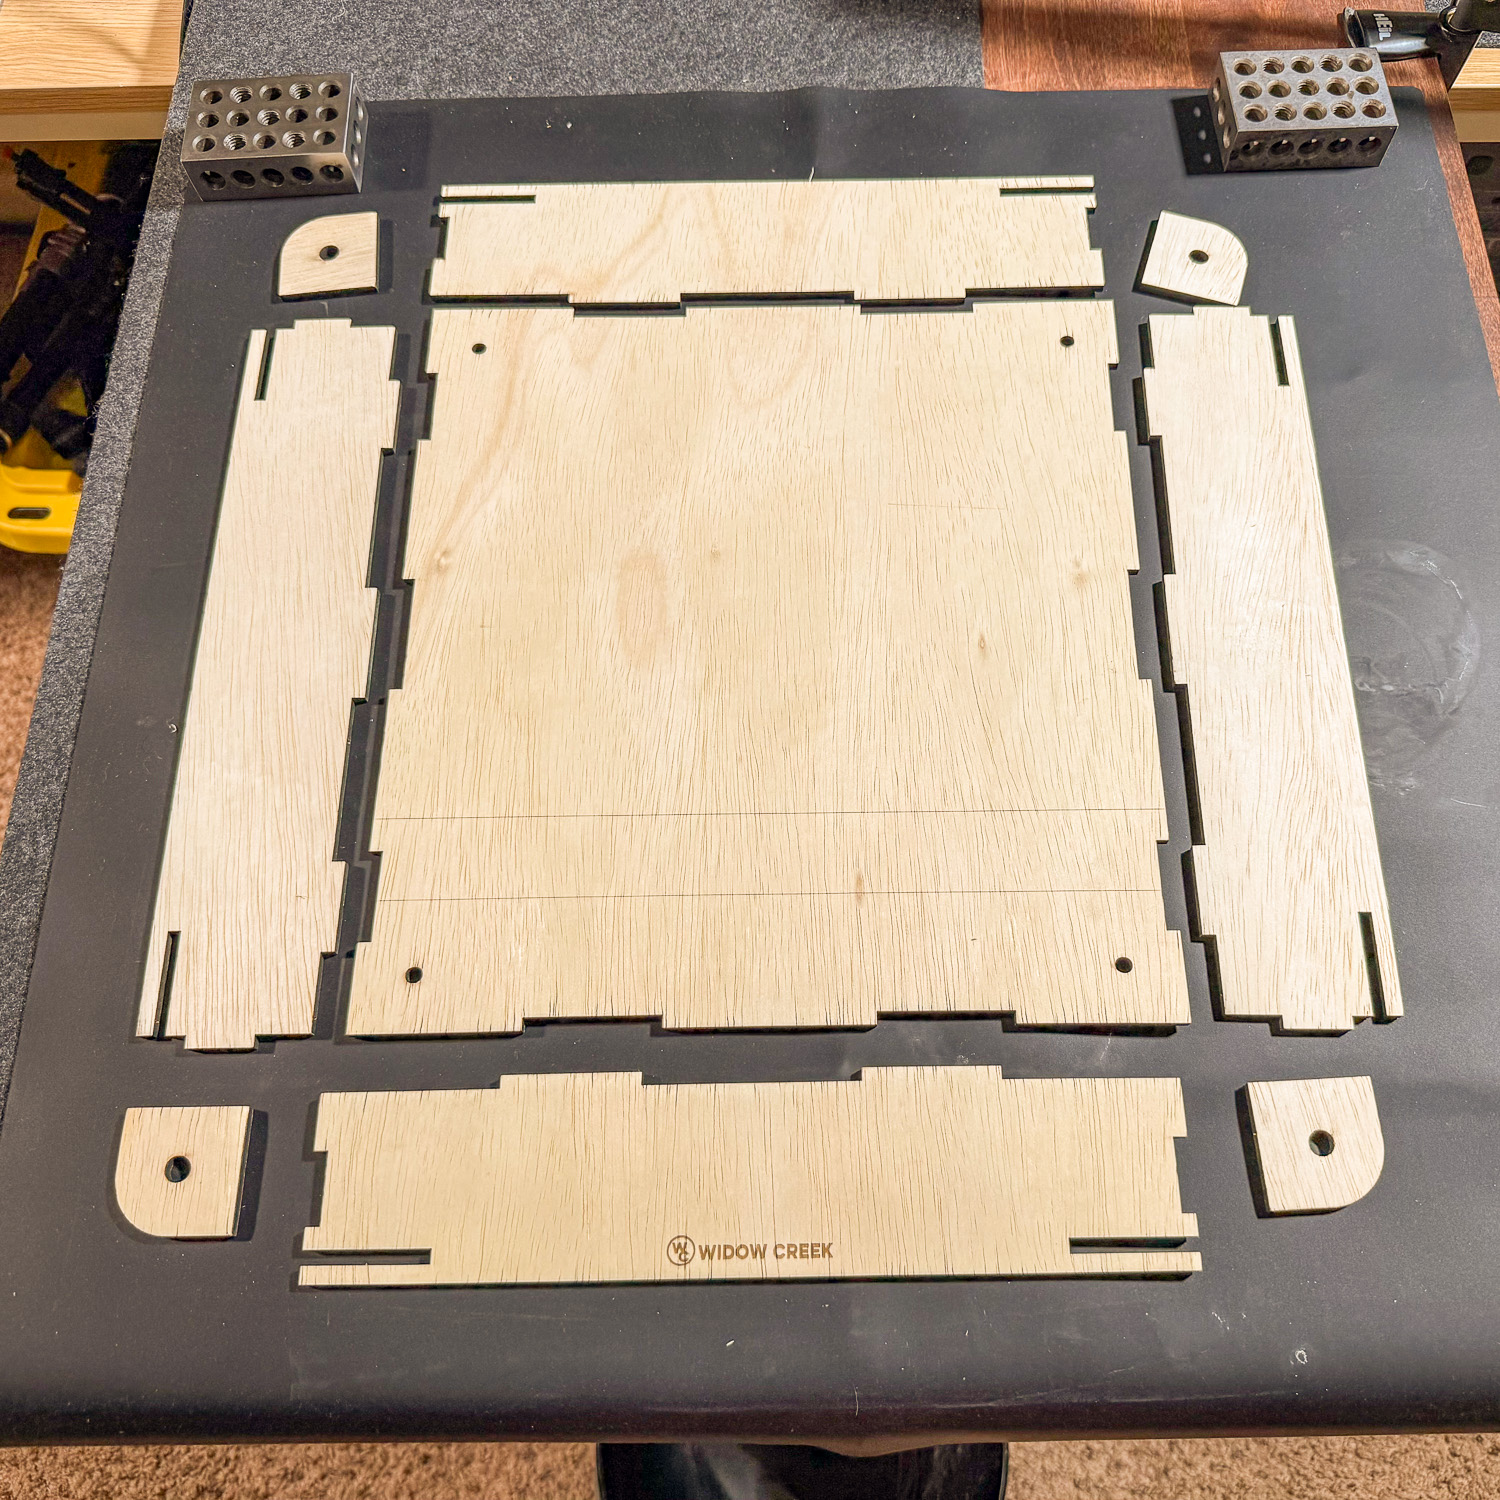
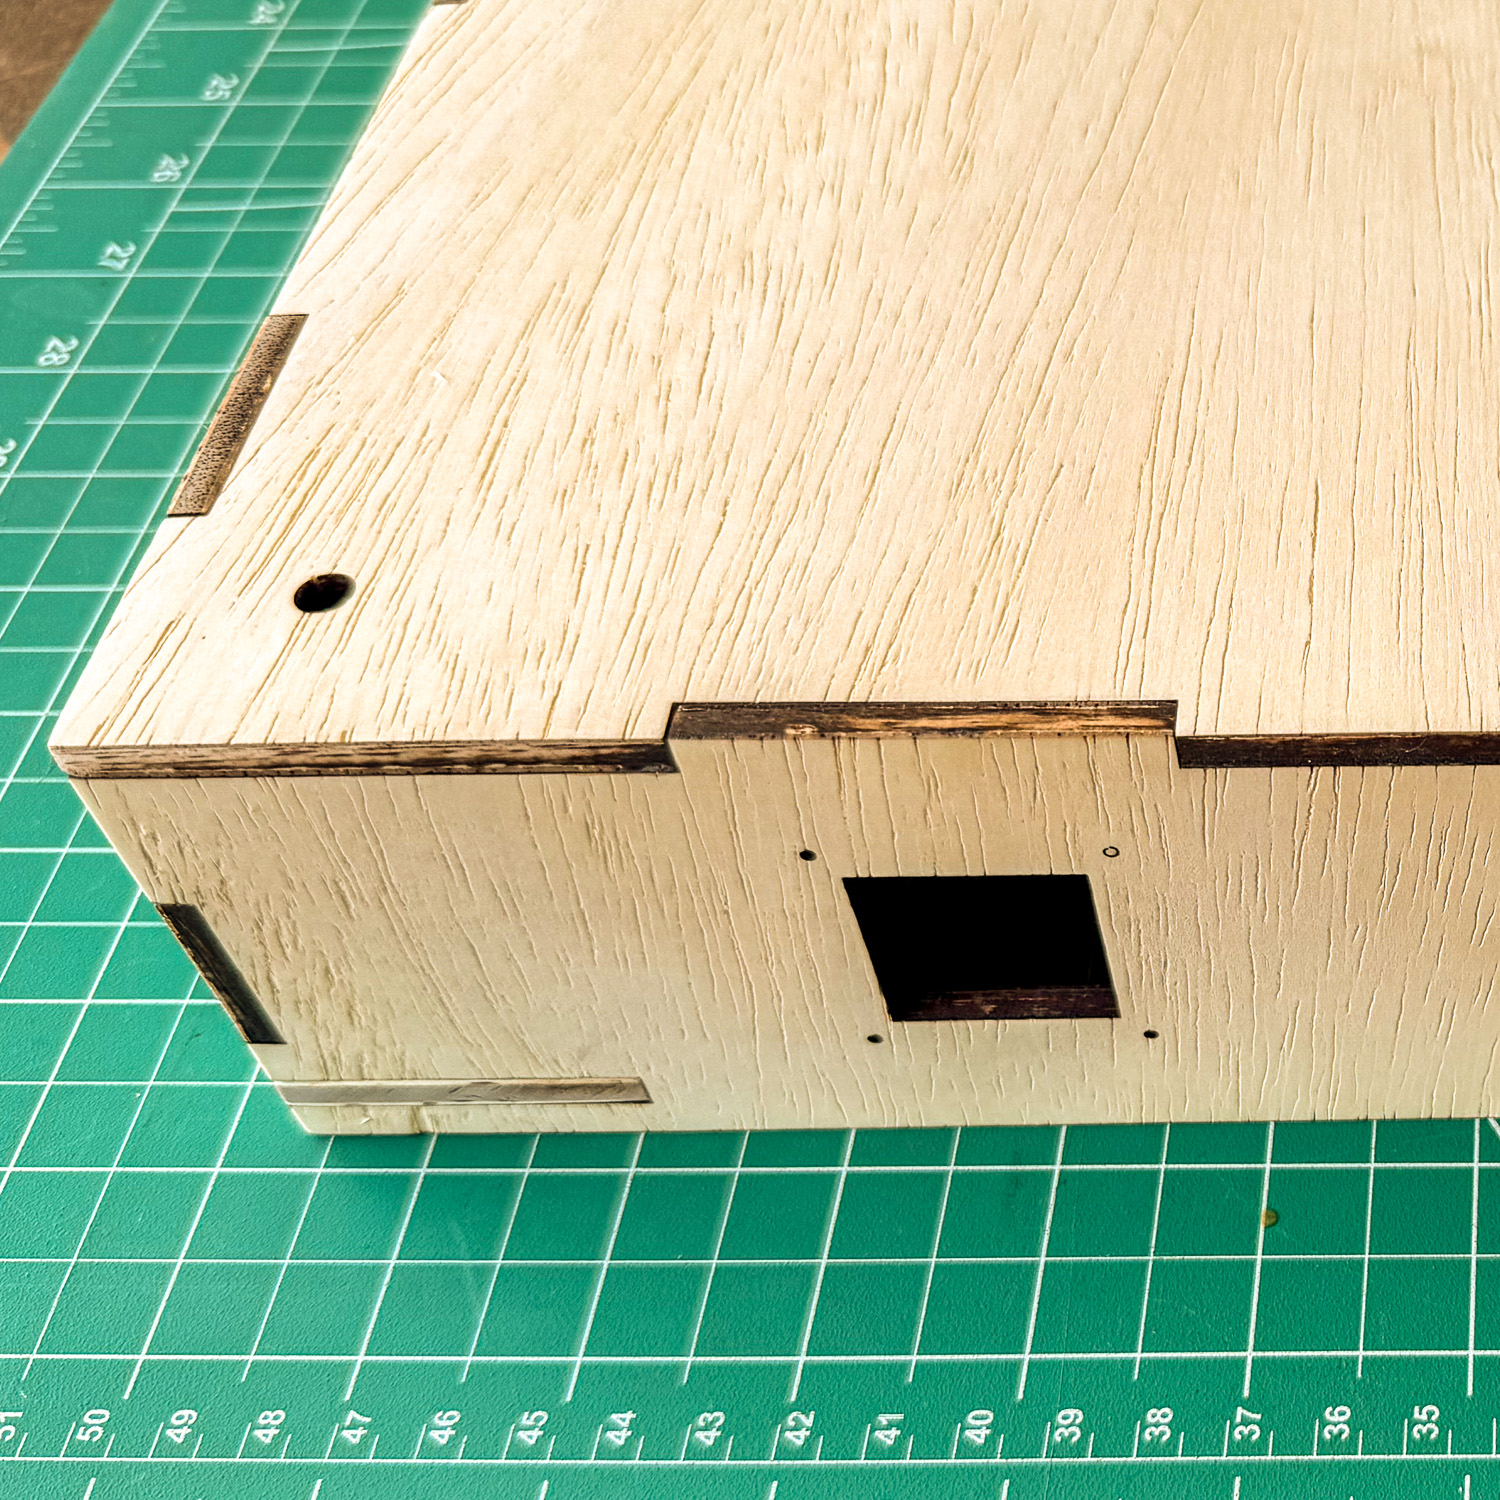
Once the drawing was finished, the individual pieces were cut from plywood using my 20 watt diode laser. This is where designing the parts to fit together starts paying off. Instead of cutting a collection of rectangles and trying to square everything manually during assembly, the sides, fascia and deck have tabs and slots that establish where the pieces belong in relation to one another.

My 20 watt diode laser cutting the module components from plywood, turning the digital design into the individual parts needed for assembly.
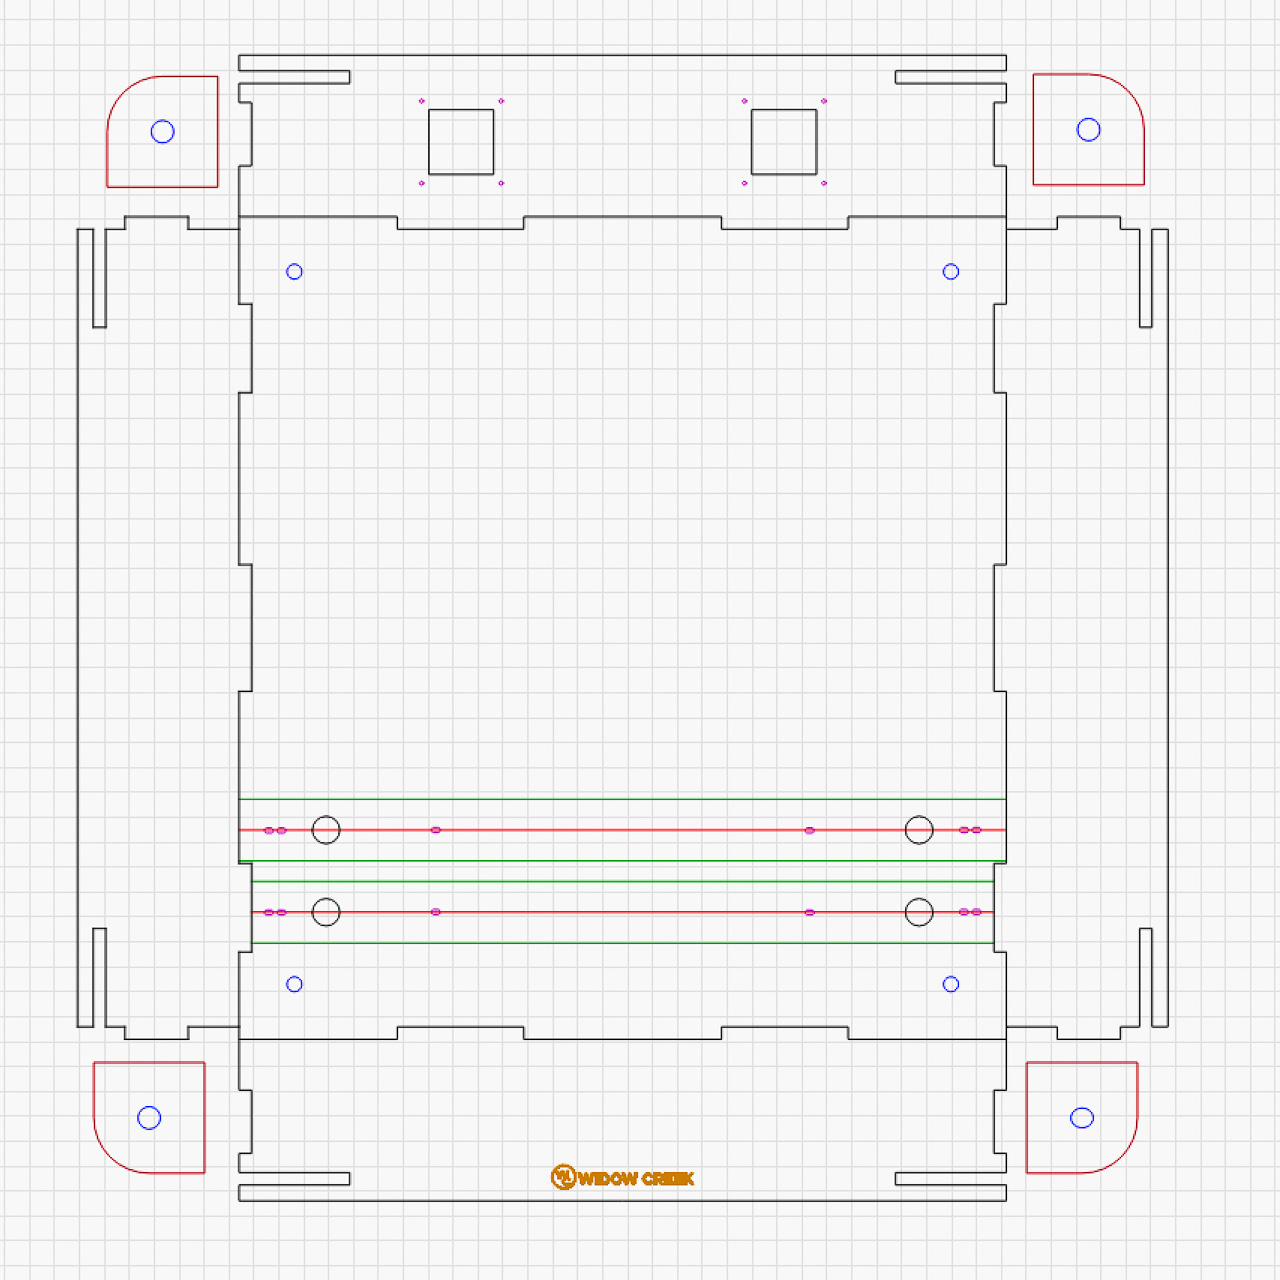
The module begins as a digital design in LightBurn, with the T-Trak dimensions, interlocking parts, track locations and mounting points laid out before any plywood reaches the laser.
One module, twp purposes
There are two versions of the module in this build, although they share most of the same construction. The standard single is for Widow Maker Whiskey and has a conventional flat deck. The second is a depressed single for the Old Sawmill and logging pond.
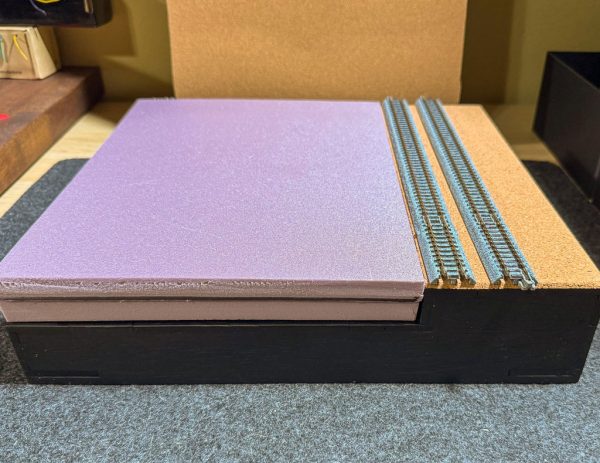 The track remains at the normal T-Trak elevation on both modules, but the main deck on the depressed version sits approximately one inch lower. The easiest way to understand why I did that is to put two pieces of 1/2 inch pink insulation foam into the depressed area.
Stacked together, the foam brings the surface right back to the normal elevation, but now there is a full inch of material below that surface that can eventually be carved away. In this particular case that space will become the logging pond, but the same idea could be used for a river, valley, road or anything else that needs to drop below the surrounding terrain.
That’s about as far as I need to go into scenery here because this build is really about the modules themselves. The important part is that the depressed design creates that vertical space without changing the track elevation or the way the module connects to the rest of a T-Trak layout.
The building blocks
Once everything comes off the laser, assembly is pretty straightforward. The tabs and slots establish where the pieces belong, but I still want to make sure the finished module is square and that the deck fits exactly as intended.
Before gluing the fascia and side panels together, I put the top deck in place without glue and use it as an assembly guide. That keeps the sides properly aligned and prevents a small tolerance difference at the corners from leaving the finished opening too tight and requiring sanding later.
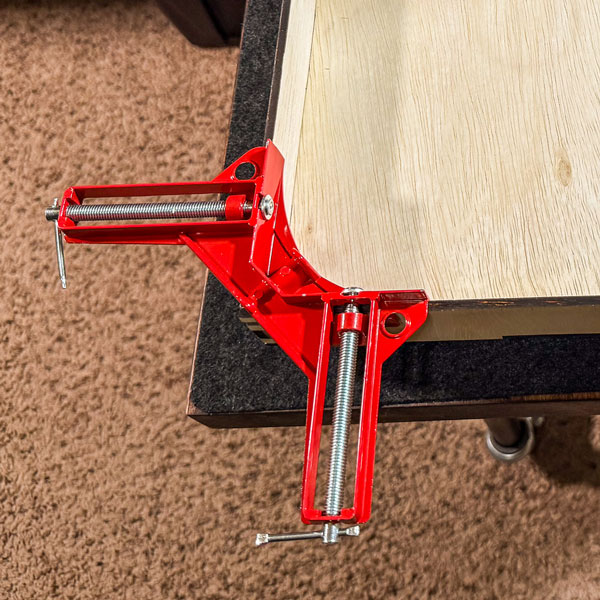 I use 90 degree corner clamps because they make the process easier, but they aren’t required. The fascia edges can just as easily be held together with painter’s tape while the unglued top deck keeps everything square and properly spaced. Even when I’m using the corner clamps, I still keep the deck in place while the corners are glued.
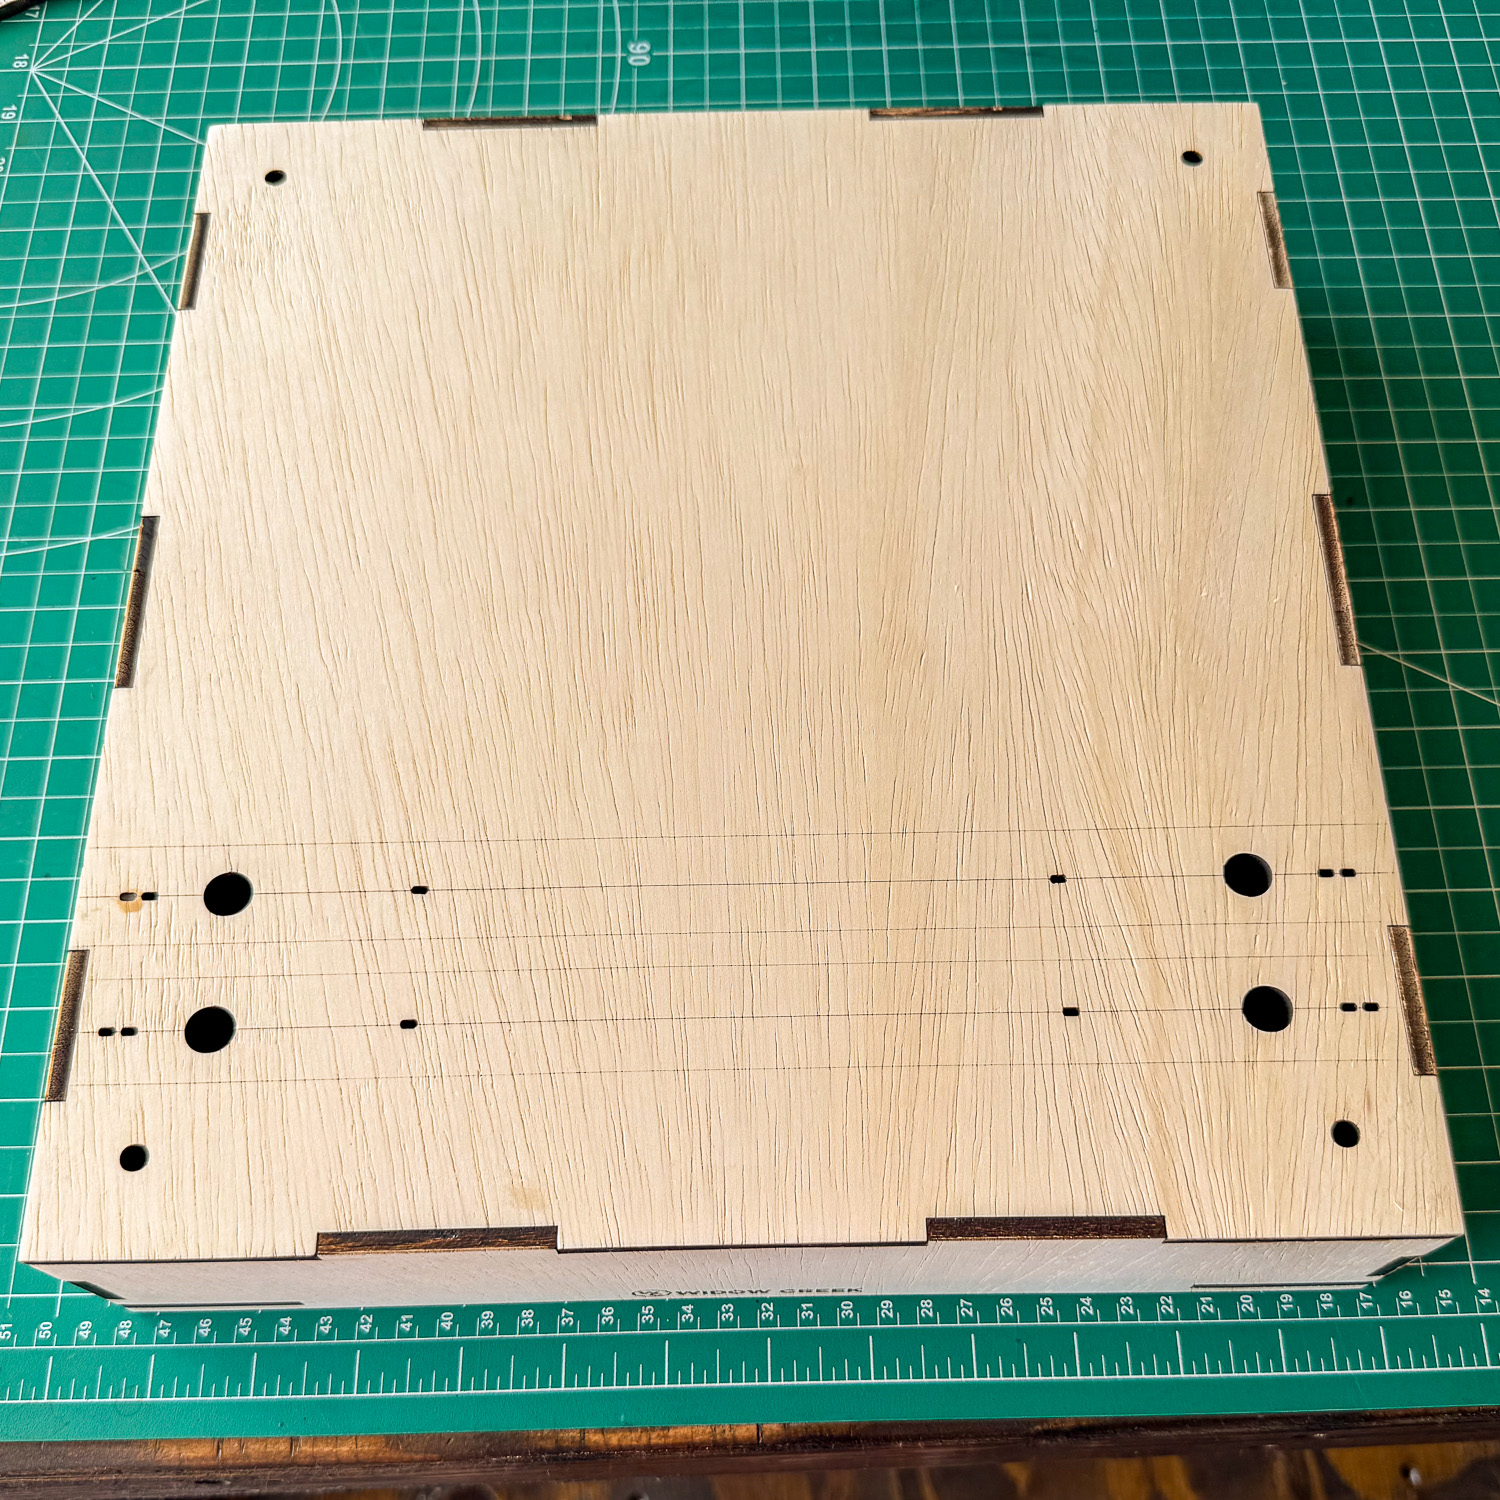
Once the basic structure has cured, the deck can then be glued permanently into position. Blue painter’s tape works surprisingly well for holding the deck tightly against the sides while the glue sets. There isn’t a complicated assembly jig hiding somewhere outside the photographs. The goal of putting the alignment into the laser cut parts was specifically to avoid needing one.
The standard single goes together using essentially the same process. The biggest difference between the two is simply where the deck sits. One gives me a conventional flat surface for Widow Maker Whiskey, while the other preserves the standard track elevation but gives me an inch of usable depth for the Old Sawmill and logging pond.
By the end of this part of the build, I have two finished wooden modules. They aren’t ready to run trains yet, but all of the important locations for the track, hardware and electrical system were established before the first piece of plywood was ever cut.
Photo Gallery